
All subassemblies--head, torso, legs, shoes and cloak/mantle--were assembled, and filled with PUR where applicable.
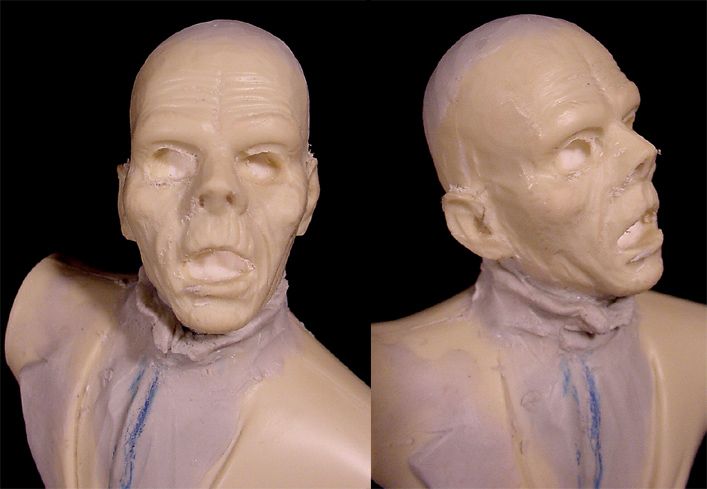
In the first image, you can see what I've done with the head and torso to date. The torso is about 80% blank. As the mantle does not fit anywhere near as snugly as it should, the torso will have to be built-out: lapels, etc. I have already begun to build out the shirt: this was largely driven by the fact that the cravat was some 4 scale inches below the neckline with no visible means of attachment. Also the shirt was collarless! You can see the roughed-in-standing collar in the image above; as well as the beginning of the right lapel. Finally, I hollowed out a neck opening which will receive the head.
I wish I had taken a photograph of the stock head. For those who would like to get a general idea of what the stock head looked like, you can go to this site. In any case, the only changes I have made to date are: ground-out the eyes and mouth; added 2-3 mm (MS) to the top of the head (if you look closely at the surviving stills, it can be clearly seen that Chaney applied a wig/skullcap that effectively extended the length of his forehead), and ground-off the hair to reshape the calvarium; and added a neck stump (MS). I have begun to tentatively reshape the head and some of the features (e.g., nose), but this is very much in the preliminary stages.
Ironically, for all the head's shortcomings, once a little bit of work is done on it, it begins to take on a startling likeness to Chaney sans makeup! This is rather exciting as now the modeller gets to play Chaney, if only for a little while. . .
And now for the infamous mantle. . . As you can see on the left half of the image, the front right panel is engineered in two pieces. All of the horror stories re: this kit revolve around benighted engineering-- and I would agree 100%. Most if not all of the build-ups I have read about have the modeller assemble the mantle in situ: my hat is off to these gentlemen as that would be a deal-breaker for me if there weren't an alternative.
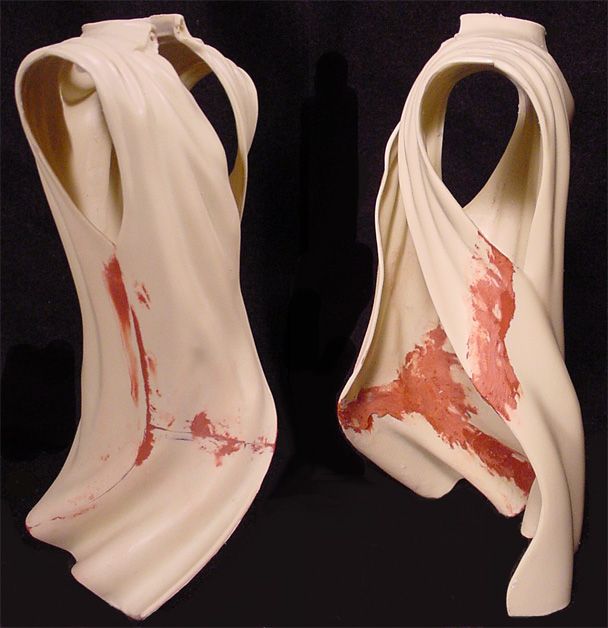
The mantle can obviously be assembled as a stand alone unit. I assembled mine with liquid cement, and then reinforced all seams with superglue; allowing the entire assembly to set and cure overnight.
The trick now is how to locate the torso inside the mantle. First, one must remove the locating pegs molded on the back half of the cloak that attach this piece to the back half of the torso. Next, one must remove all the extraneous lugs, numbering "plates", etc. that populate the inner surfaces of the pieces comprising the mantle. Once that is done, one can cajole the torso past the waist of the mantle until it pops into the chest area. This is not as difficult as it sounds. Kudos to PL for providing us with a one-piece back half: the entire mantle can be gently pried apart until the torso pops into place.
I will have several options by which to secure the mantle to the torso: at this point I am still undecided as to which will work the best for me.
More to follow. . .
No comments:
Post a Comment